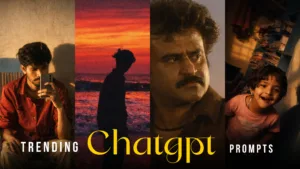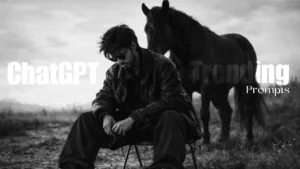
Instagram Trending Edit – Step by Step Guide to Create Lyrics Videos with CapCut & Alight Motion (1920×600 Ratio)
Introduction
If you spend even a little time on Instagram reels, you’ll notice one trend that never seems to fade: lyrics videos with smooth beats and animations. These edits have a special charm — the text flows perfectly with the music, images move on the beat, and the whole video feels alive. No wonder they’re trending right now!
But here’s the good news: you don’t need to be a professional editor with expensive software to make these. With just CapCut and Alight Motion, two free mobile editing apps, you can create the same kind of videos that are blowing up on Instagram.
In this article, I’ll walk you through the entire process — starting in CapCut to add images, extract sound, and sync lyrics, then moving into Alight Motion where we’ll polish the edit with keyframes, animations, and smooth graphs. And of course, we’ll talk about why the 1920×600 ratio is so popular on reels right now.
So, let’s get into it step by step.
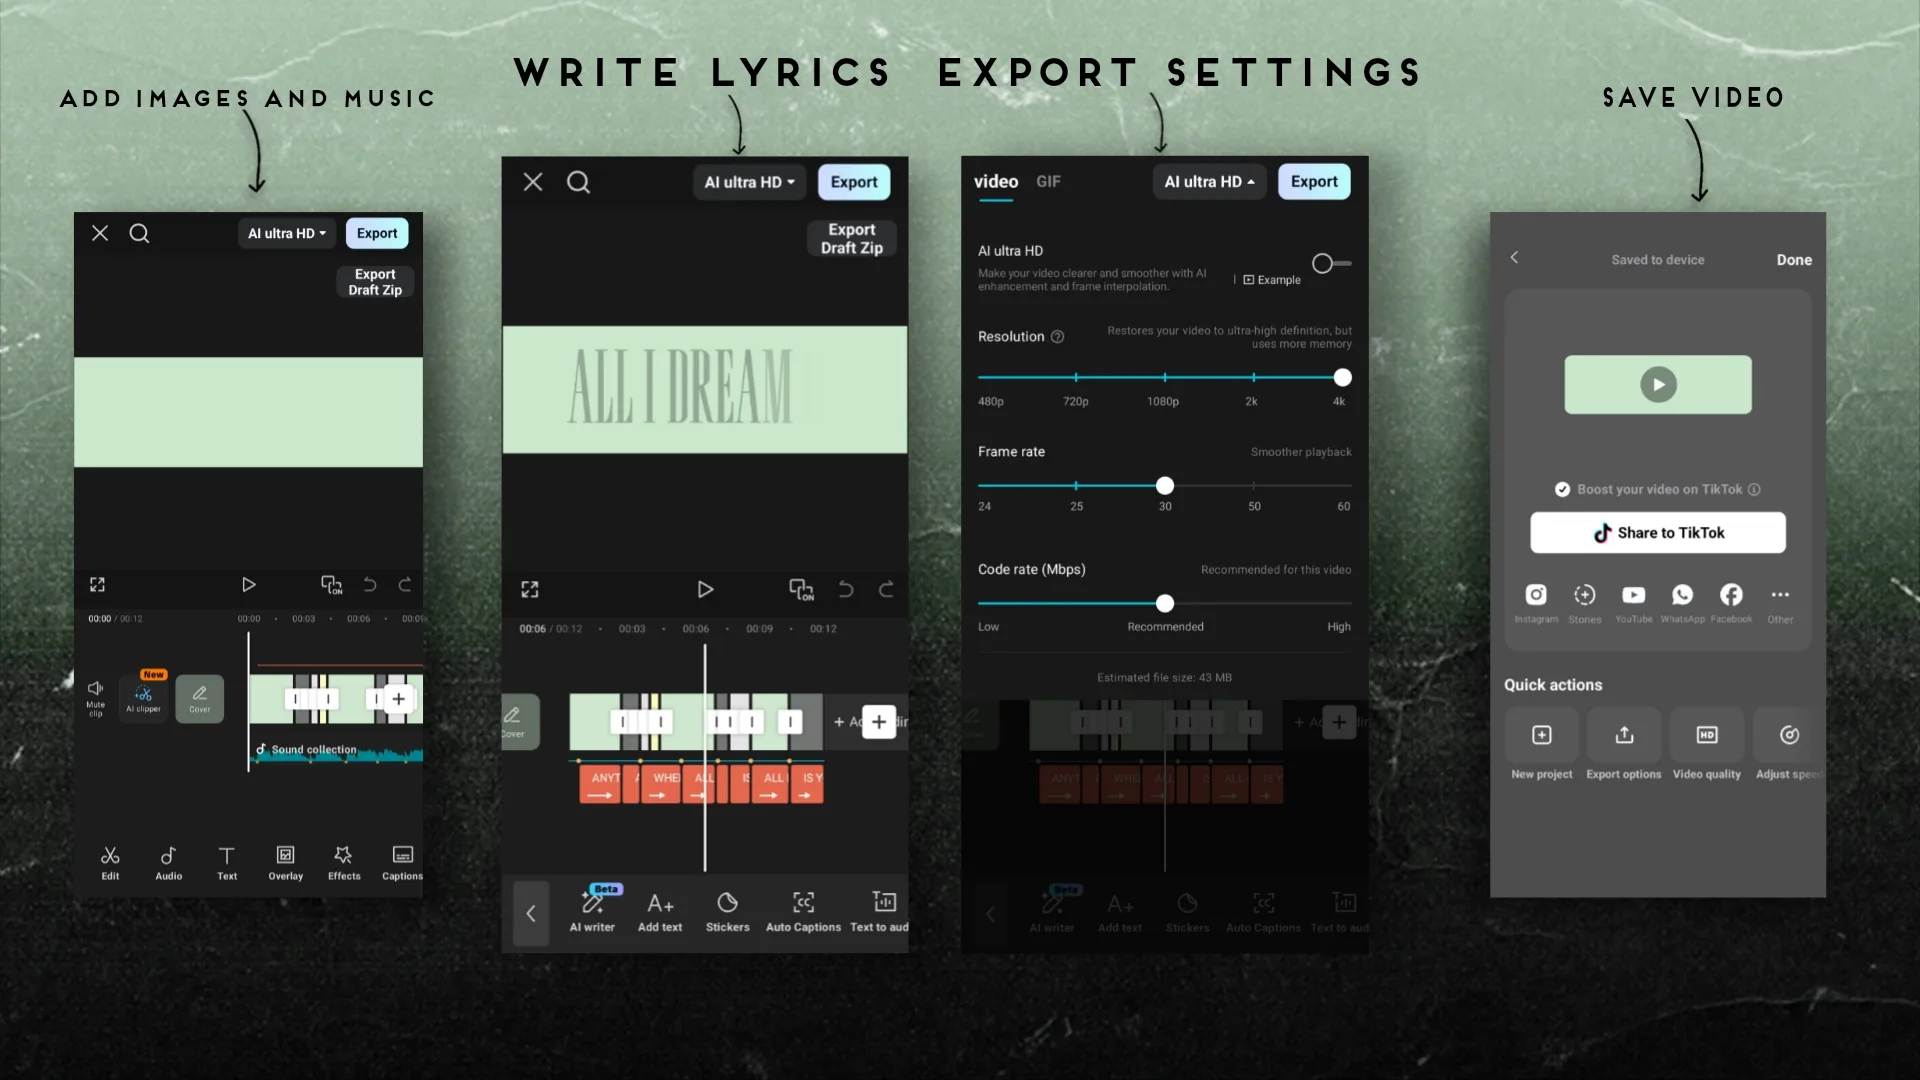
Step 1: Editing in CapCut
CapCut is like the starting point for most editors. It’s simple, powerful, and beginner-friendly. Here’s how you’ll use it for your trending lyrics video.
1. Add Your Image
- Open CapCut and tap New Project.
- Select the image you want as your video’s background.
- This could be a photo of a celebrity, an aesthetic wallpaper, or even a plain background with a nice texture.
Tip: Choose a high-quality image because once you stretch it into the 1920×600 ratio, a low-resolution image will look blurry.
2. Extract Sound from a Video
Most of the time, the audio you want will be from a music video. In CapCut, you can directly extract audio:
- Import the video → tap it → choose “Extract Audio”.
- Boom, now you have the song as a separate track.
This makes it much easier to edit without worrying about visuals in the original clip.
3. Mark the Beats
Now comes the fun part. To sync lyrics perfectly, you need to mark beats manually.
- Play the audio and tap whenever you hear a strong beat or drop.
- CapCut lets you drop markers directly on the timeline.
These markers will act like signboards for you when you add the lyrics later.
4. Add Lyrics Manually
- Go to the Text tool → add a text box → type the first line of lyrics.
- Place it exactly on the beat marker.
- Continue line by line until the whole song is covered.
Don’t rush here. Lyrics syncing is what makes or breaks the video. Even if your animations are good, if the text doesn’t hit on beat, viewers will scroll away.
5. Export Your Video
Once all the lyrics are typed out and synced, export the video in Full HD.
This is your base lyrics video, and we’ll now polish it in Alight Motion.
Step 2: Importing into Alight Motion
CapCut got us halfway, but now it’s time for Alight Motion to take things to the next level.
1. Set the Right Ratio
- Open Alight Motion → Create New Project.
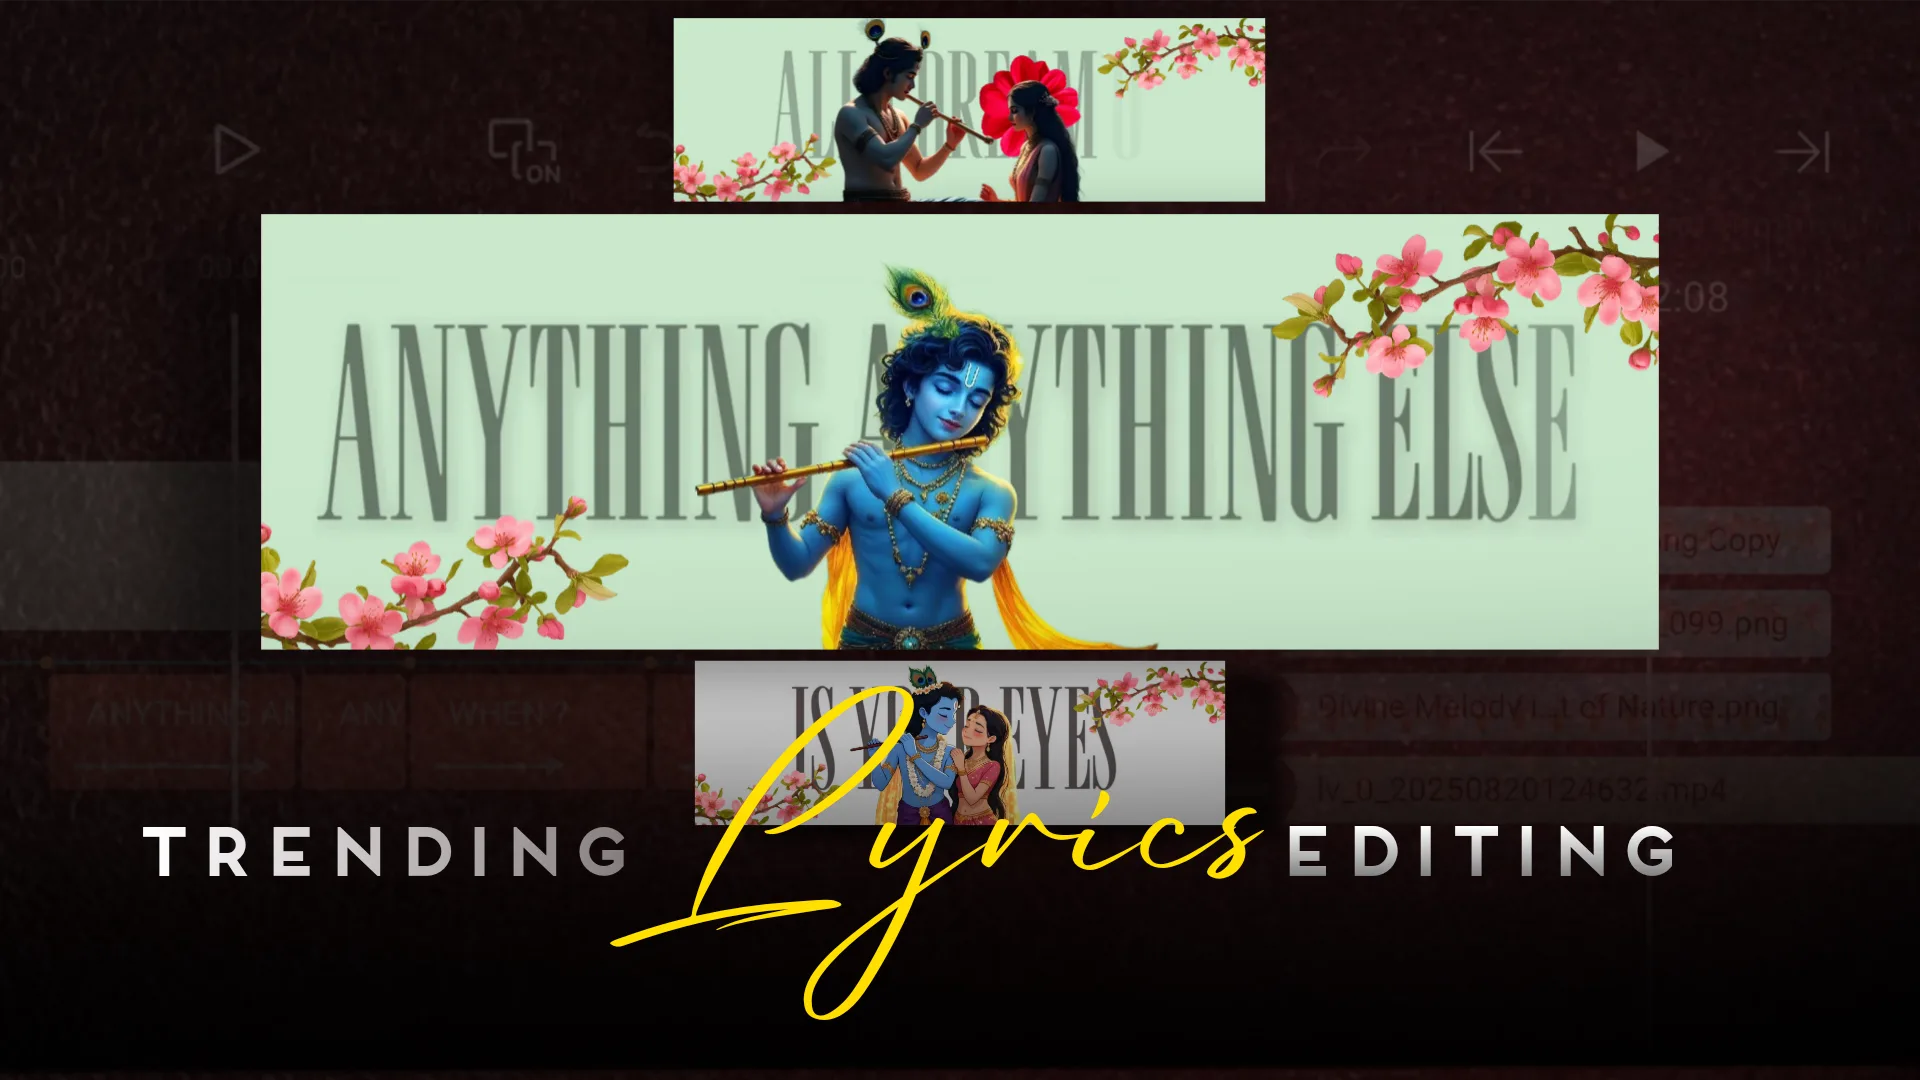
- Choose the 1920×600 ratio.
Why this ratio? Because it gives your video a cinematic feel. It’s wide like a movie screen, and right now Instagram users love that different look compared to the usual 9:16 format.
2. Import Your Lyrics Video
Take the exported file from CapCut and drop it into your Alight Motion timeline. This becomes your main layer.
3. Add Extra Images
Want to add more spice? Import additional images that fit your theme — for example:
- Emotional song → black & white photos
- Devotional song → God images
- Romantic track → aesthetic couple photos
Keep these in sync with the beats.
4. Use Keyframes for Animations
Here’s where Alight Motion shines. Keyframes let you animate almost anything.
- Select your image → add a keyframe at the start.
- Move the image slightly → add another keyframe.
- Now, when you play it back, the image moves smoothly.
You can make images zoom in, slide sideways, or even rotate.
5. Adjust Graphs for Smooth Motion
Animations look robotic without graphs. By tweaking the motion graph, you can make movements feel natural.
- Use ease-in and ease-out curves.
- This way, objects don’t move at a constant speed — they start slowly, speed up, then slow down again.
The difference is huge. A simple zoom looks like a pro cinematic effect after adjusting graphs.
6. Sync Everything to the Beat
Always double-check that your animations hit the beat. Every movement should match the rhythm of the song. This is what makes people rewatch your video again and again.

Why the 1920×600 Ratio is Trending
You might be wondering, why not just stick to Instagram’s default 1080×1920?
Here’s why:
- Looks cinematic: Feels like watching a mini movie.
- Stands out: Everyone posts in 9:16; your wide video instantly looks unique.
- Perfect for lyrics: Wide space means the text doesn’t feel cramped.
- More aesthetic: Works beautifully with beat-sync edits.
Trends come and go, but right now, this ratio is winning big on reels.
Pro Tips to Make Your Edit Go Viral
Here are a few tricks I’ve learned that make a huge difference:
- Font Selection Matters
Use clean, bold fonts. Avoid overly decorative styles — viewers need to read fast. - Keep Text Readable
Always add a subtle shadow or outline so the lyrics don’t blend into the background. - Don’t Overdo Effects
Too many transitions or flashes can distract. Less is often more. - Match Colors to the Song Mood
- Sad/slow song → pastel or dark tones
- High-energy → neon or bright colors
- Stay Updated on Trends
Scroll Instagram reels daily. You’ll notice new styles, effects, and ratios that creators are experimenting with. Adapt quickly.
Conclusion
That’s it, mama — you’ve just learned how to create an Instagram trending edit using CapCut and Alight Motion. The process is simple once you get the hang of it:
- CapCut for adding images, extracting audio, and syncing lyrics.
- Alight Motion for animations, keyframes, and smooth graphs.
- Export in the 1920×600 ratio to get that cinematic, trendy feel.
This style of editing is powerful because it combines good music, synced lyrics, and engaging visuals. And since Instagram reels currently push this format, it’s the perfect time to jump in and create your own viral edits.
The best part? The more you practice, the smoother and more creative your edits will become. So don’t just watch reels — start making them!