How to Replace Sky in CapCut: Create Cinematic Edits on Mobile (2026 Guide)
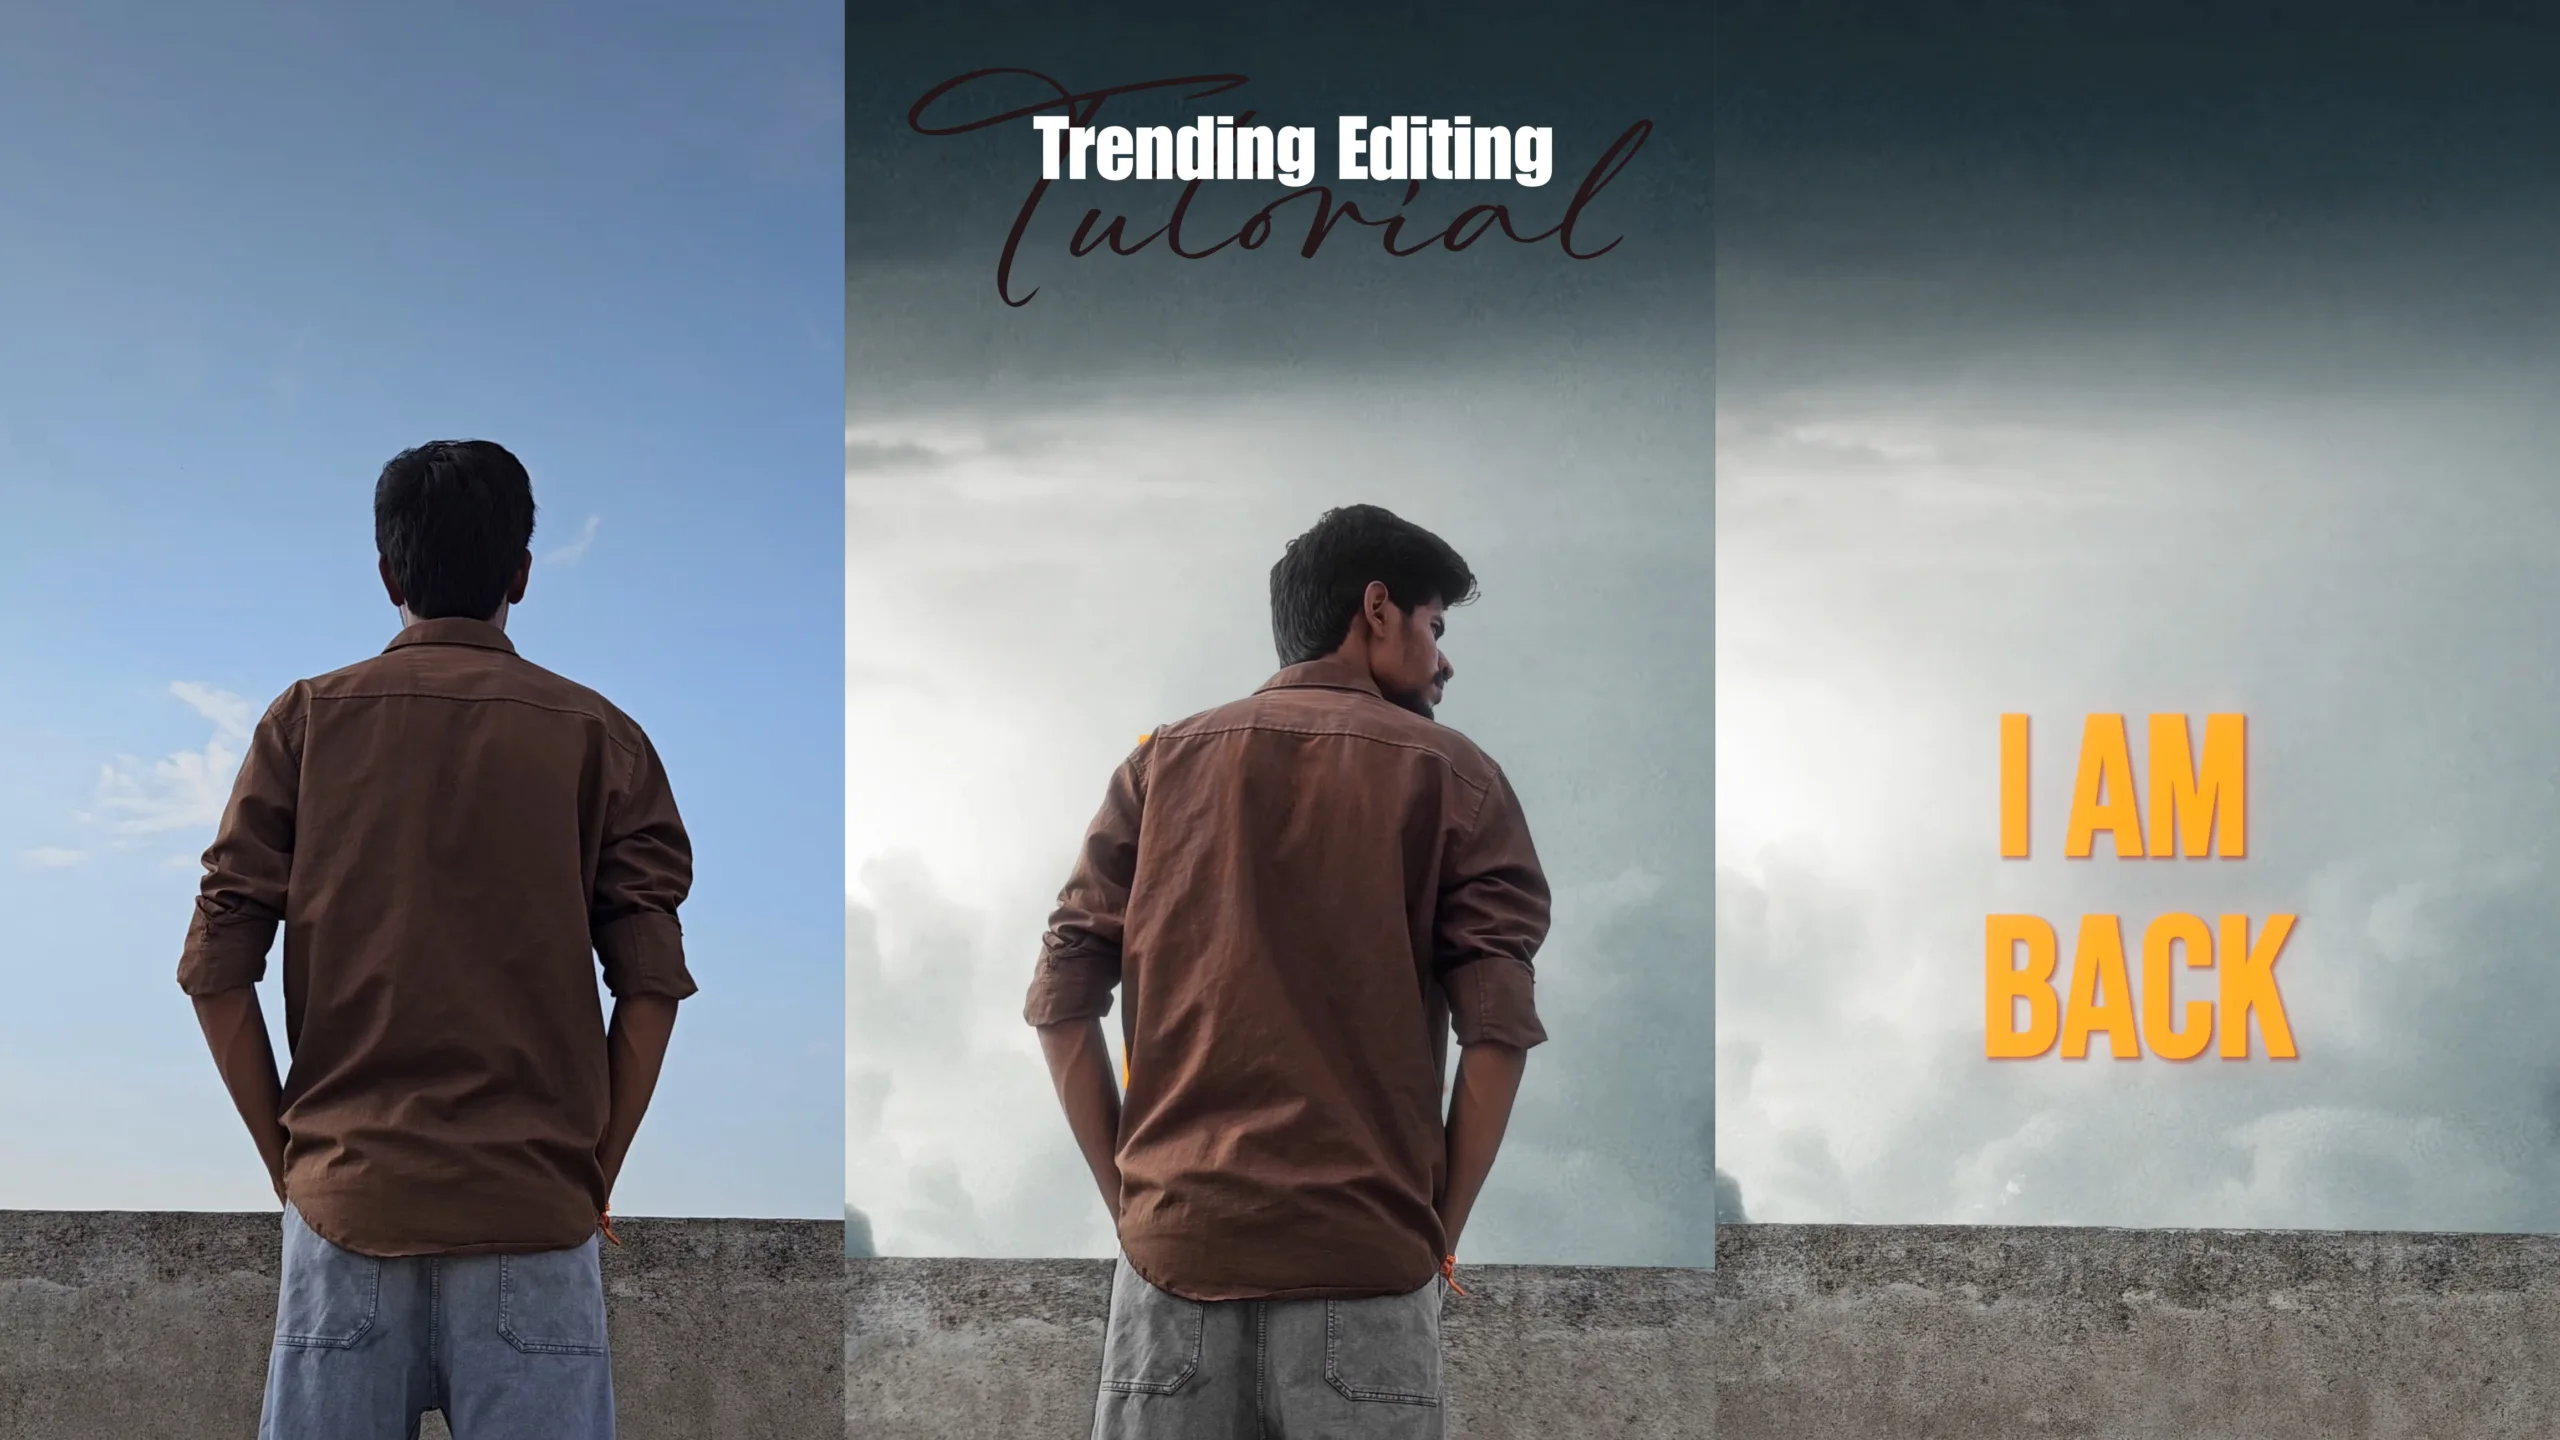
Sky replacement editing has become one of the most popular editing trends among Instagram creators, travel vloggers, and short-form video editors. A simple outdoor photo can instantly look cinematic by replacing a dull sky with dramatic clouds, golden sunsets, or stunning storm effects.
The best part is that you don’t need advanced software like Photoshop or expensive desktop applications. With the CapCut mobile app, you can create professional-looking sky replacement edits directly on your smartphone.
Whether you are creating Instagram Reels, YouTube Shorts, or cinematic travel videos, learning sky replacement editing can significantly improve the overall quality of your content.
In this guide, you’ll learn how to replace the sky in CapCut, the best settings to use, recommended blend modes, common mistakes to avoid, and pro tips to create realistic cinematic edits.
Why Sky Replacement Editing Is So Popular
Sky replacement editing can completely transform the mood of a photo or video. Instead of a plain or overexposed sky, creators can add dramatic visuals that instantly grab attention.
Benefits of Sky Replacement Editing:
- Makes photos and videos look cinematic.
- Creates emotional and storytelling visuals.
- Improves the overall color and atmosphere.
- Increases engagement on Instagram Reels and YouTube Shorts.
- Helps creators produce professional-quality content using only a mobile phone.
Requirements for CapCut Sky Replacement Editing
Before you start editing, make sure you have the following:
✔ Latest version of CapCut installed.
✔ A sky overlay video or image (sunset, clouds, stars, storm, etc.).
✔ A photo or video with a clearly visible sky.
✔ Basic knowledge of overlays, masks, and blend modes.
Step-by-Step Guide to Replace Sky in CapCut
Step 1: Import Your Photo or Video
Open CapCut and tap on New Project. Import the photo or video that you want to edit. Choose clips where the sky is clearly visible for better results.
Step 2: Add a Sky Overlay
Tap on Overlay and select Add Overlay. Choose your preferred sky video or sky image and position it above the original footage.
Resize the overlay to cover the entire frame.
Step 3: Apply a Mask
Select the sky overlay and tap on Mask.
For most edits, the Linear Mask works best. Adjust the mask carefully around buildings, trees, mountains, or the subject.
Increase the feather value between 50% and 80% to blend the sky naturally.
Step 4: Select the Correct Blend Mode
CapCut offers multiple blend modes that can improve realism.
- Screen Mode – Ideal for blue skies and soft clouds.
- Overlay Mode – Perfect for sunsets and dramatic skies.
- Lighten Mode – Useful when working with bright sky overlays.
Experiment with different blend modes until the sky looks natural.
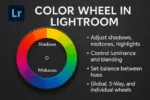
Step 5: Match the Colors
Color matching is essential for realistic results.
You can try these adjustments:
- Increase contrast slightly.
- Reduce highlights.
- Lift shadows.
- Increase temperature for sunset scenes.
- Reduce temperature for rainy or storm effects.
- Lower saturation slightly for a cinematic look.
Step 6: Add Motion for Realism
Static skies often look artificial. To create a realistic effect:
- Add slow keyframe movement.
- Apply subtle animations.
- Use motion blur if necessary.
- Avoid extremely fast overlay movement.
Small movements usually produce the most natural results.
Best Export Settings for CapCut Sky Replacement Videos
| Setting | Recommended Value |
|---|---|
| Resolution | 1080p |
| Frame Rate | 60 FPS |
| Bitrate | 20 Mbps or Higher |
| HDR | Optional |
These settings help maintain high quality after uploading to social media platforms.
Pro Tips for Viral Sky Replacement Edits
- Use sunset skies with orange and teal color grading.
- Add fog, dust, or light leak overlays for extra depth.
- Use birds or flying objects to create realistic scenes.
- Avoid excessive saturation.
- Keep transitions smooth and natural.
Common Mistakes to Avoid
Many beginners make these mistakes:
❌ Visible mask edges.
❌ Overly bright overlays.
❌ Wrong blend mode selection.
❌ Unrealistic color grading.
❌ Fast-moving sky overlays.
Always focus on creating realistic and subtle edits rather than exaggerated effects.
Final Thoughts
CapCut sky replacement editing is an easy yet powerful technique that can transform ordinary photos and videos into cinematic masterpieces. With proper masking, realistic color grading, and carefully selected sky overlays, you can create professional-looking content directly from your smartphone.
Practice regularly, experiment with different sky overlays, and develop your own editing style to stand out on social media.
Ee version ni use chesi new download links, screenshots add chesthe duplicate content issue chala varaku avoid avuthundi mama. Inka featured image, meta description, focus keyword kavali ante cheppu.
How to Replace Sky in CapCutHow to Replace Sky in CapCutHow to Replace Sky in CapCutHow to Replace Sky in CapCutHow to Replace Sky in CapCutHow to Replace Sky in CapCutHow to Replace Sky in CapCutHow to Replace Sky in CapCut